I encountered a fun adafruit tutorial for a sci-fi prop and decided to follow it through with a few embellishments, so that I would have something fun to bring to the next Steampunk event I attend. Click here for the Thingiverse page to compare the 'stock' version and see a demonstration of function.
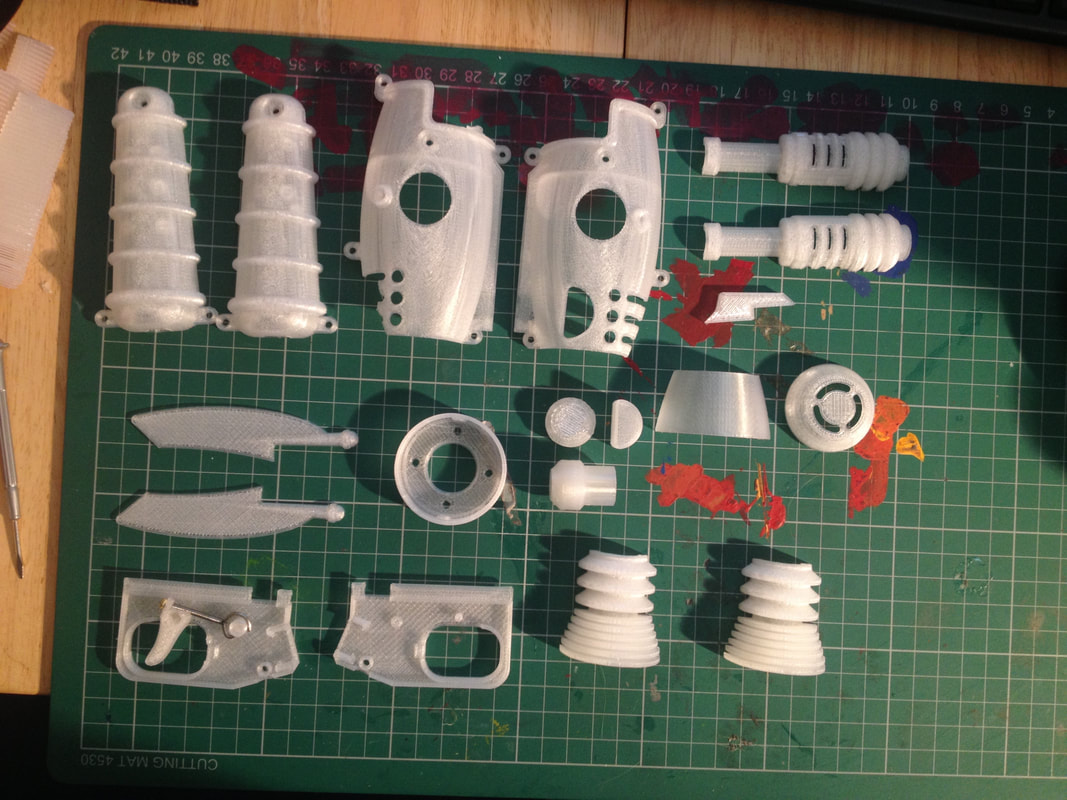
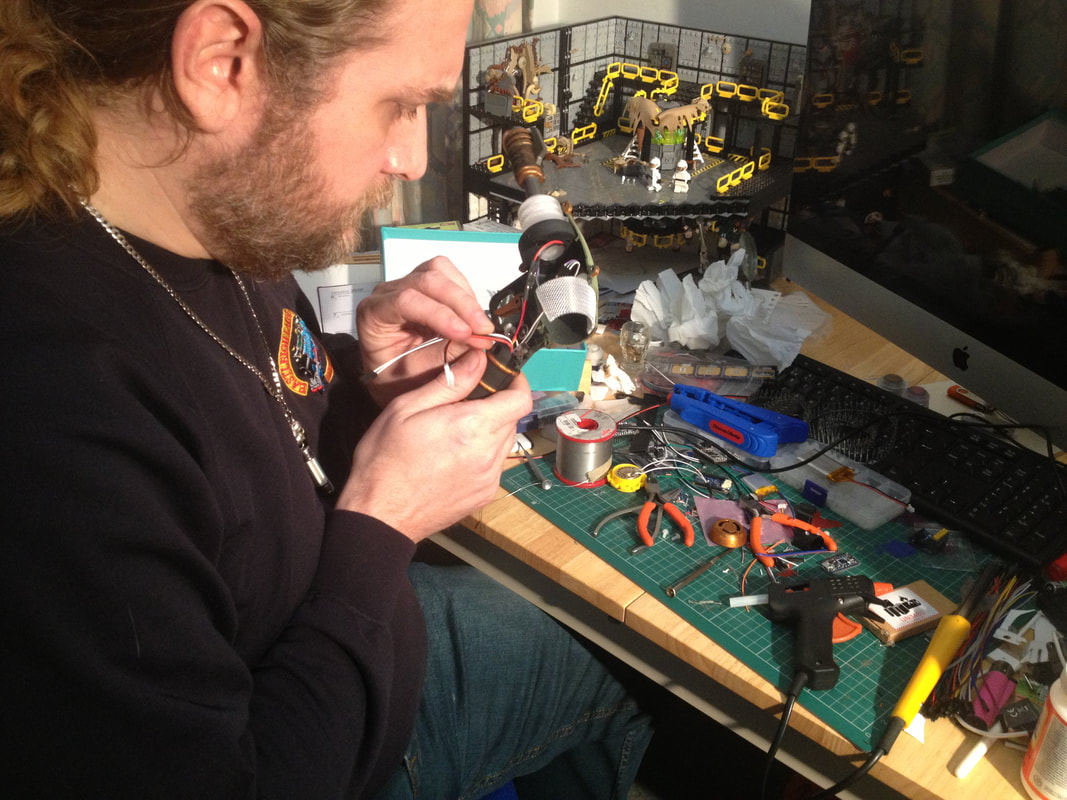
I sought my good friend Seth's help to print large pieces my 3D printer couldn't handle, and for wiring and coding. I found a blast sound I liked and we programmed it in.
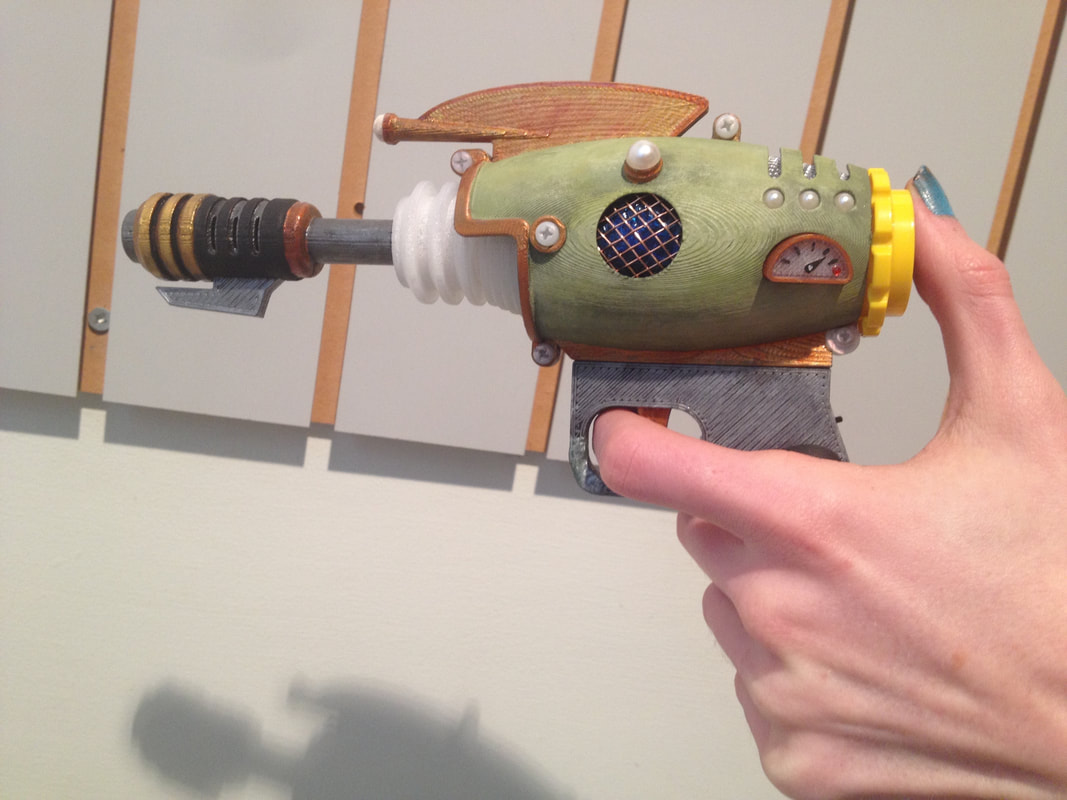
I came up with a steampunk colour scheme, painted and glued and made alterations. I replaced a few elements that didn't fit well, added mesh and a cog-shape to the back.
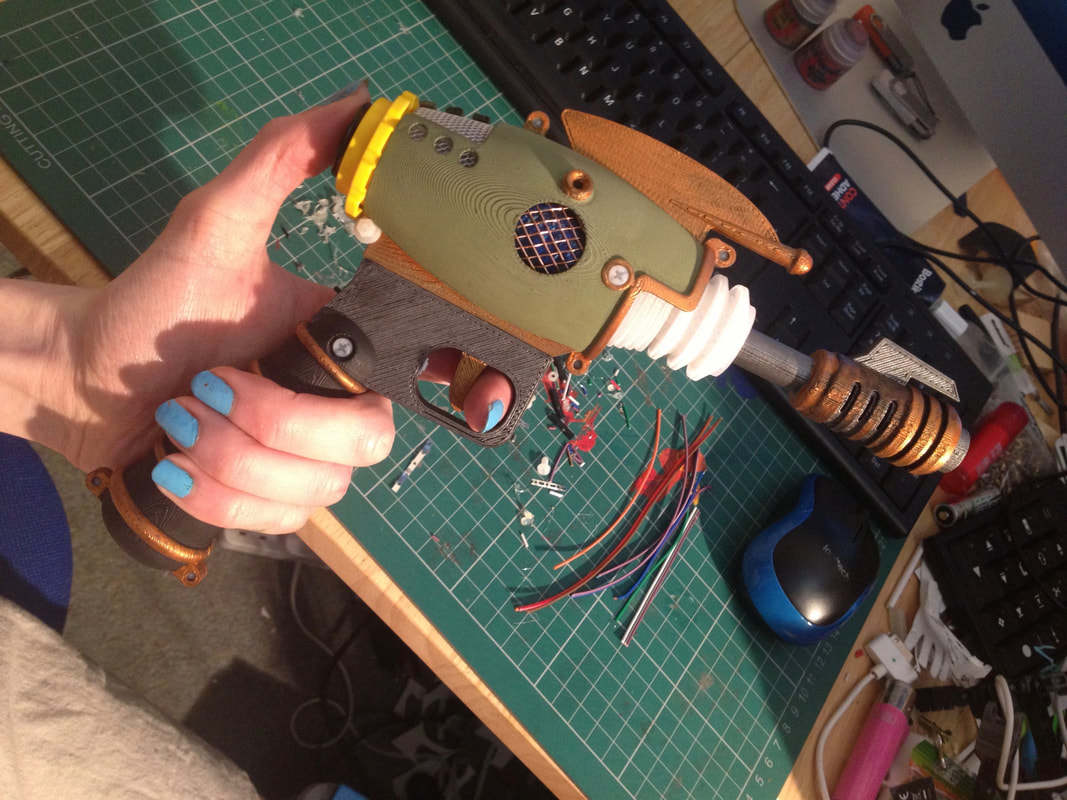
I adjusted the nozzle to put the fin underneath, which I find more aesthetically pleasing, but didn't glue it so that it can be adjusted again at whim. In places the print had something of a wood grain texture to it, which I decided was fun and tried to emphasise with my paintwork. I used adhesive pearls on the reverse of the nylon screws for symmetry, and everywhere else they seemed to fit nicely. I fitted them into the rows of dots at the back to make them distinct from the grilled section there.
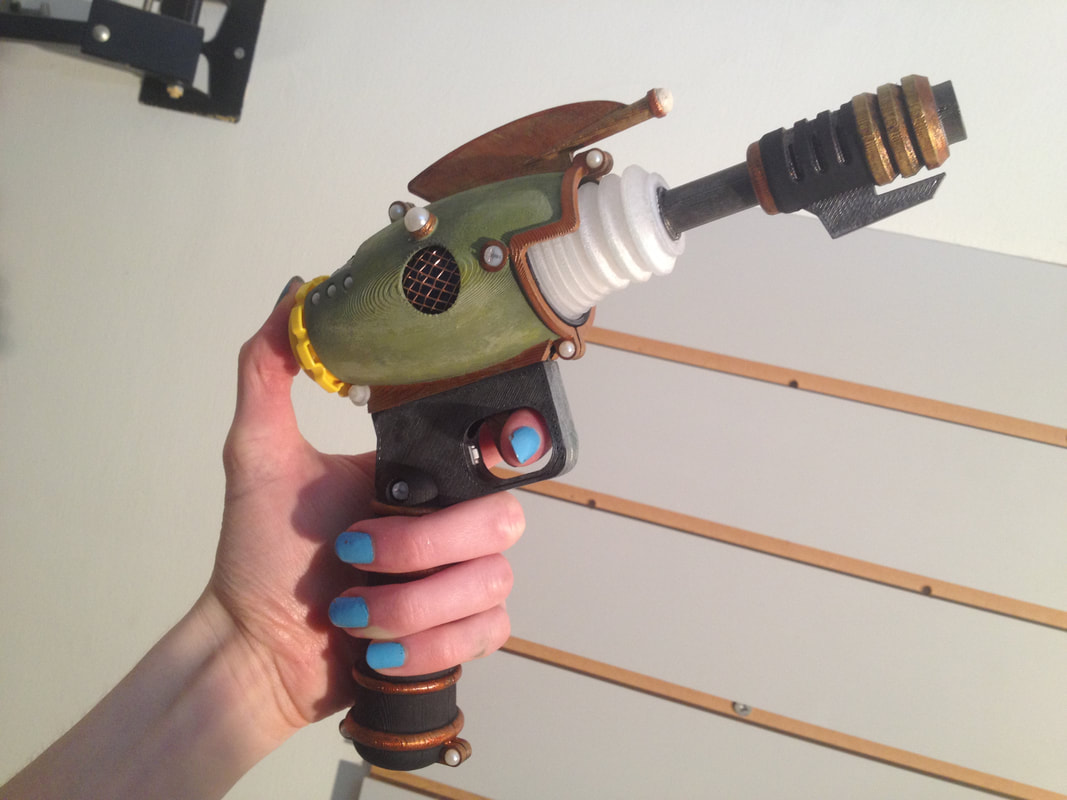
I used a touch of pearlescent paint on the translucent parts and nylon screws to match, and it really makes them pop and feel cohesive.

I'm particularly proud of the little dial I managed to make on what had been a plain semicircle. I hand painted the lines and made an indicator from a thin piece of metal and short length of wire left over from earlier in the build. A red adhesive gem makes for a warning light.